Published
- 17 min read
Metal Detecting Old Mines: Gold, Relics, and Safety Tips

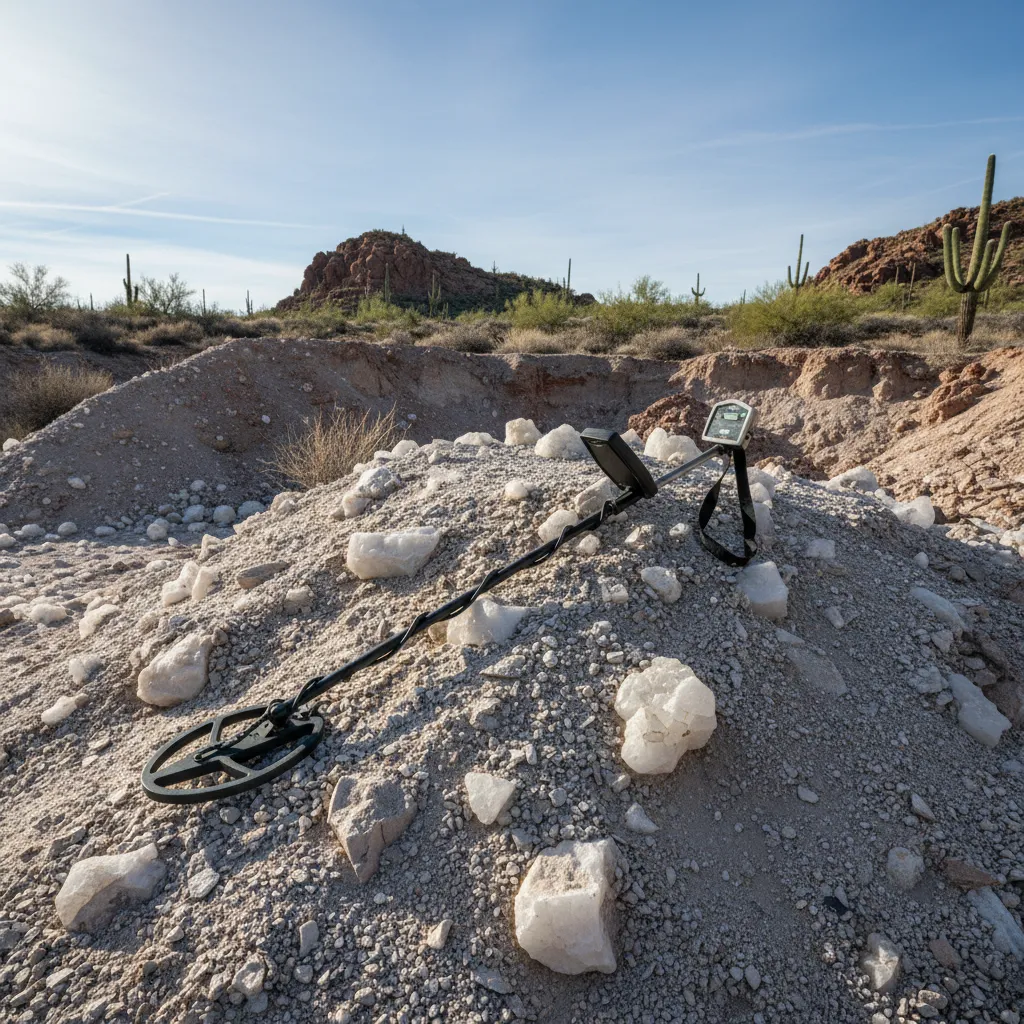
Metal detecting old mines is a completely different game than swinging a detector in a park or on a beach. The ground is angrier, the targets are stranger, and the history under your coil goes back a century or more. I’ve been detecting mine sites across Arizona, Colorado, and California for years now, and I consistently pull finds from these places that I’d never encounter anywhere else — gold specimens still clinging to quartz, hand-forged tools, cartridge casings from the 1860s, and once a mercury flask cap from an old amalgamation setup.
The reason is simple: mines were places where people worked, lived, and processed enormous amounts of rock. They lost things, dropped things, and threw away material they thought was worthless. And their definition of “worthless” was calibrated to $20/ounce gold and 1890s extraction technology. At today’s prices north of $3,000/ounce, that recalibration changes everything about what’s worth recovering from a mine dump.
But abandoned mines also present real hazards that a city park doesn’t. Unstable ground, toxic materials, legal access questions, and ground mineralization that’ll make your detector scream at every square inch if you don’t know what you’re doing. This guide covers all of it — what I’ve learned from hundreds of hours detecting at old abandoned mine sites across the western US.
Why Old Mines Produce Better Finds
I’ve detected parks, beaches, old homesteads. They’re fine. But old mines are a completely different category, and it comes down to what actually happened at these places.
Miners blasted rock, hauled ore, crushed it through stamp mills, ran it through sluice boxes and amalgamation plates — all classic gold mining techniques that left material behind. They lived on-site for months or years. They lost things, dropped things, threw away things they thought were worthless. Their processing technology was crude — early stamp mills and gravity separation captured maybe 60-70% of the gold. The rest went onto the tailings pile and sat there for 120 to 150 years.
Here’s what Jeff Williams (a prospector and geologist whose field videos are worth watching) points out: old-timers only pursued high-grade ore, typically 1+ ounce per ton. Anything below that threshold got tossed on the dump. That discarded material has been weathering for over a century, and weathering releases free gold from the host rock. Williams says he’s found more free-milling gold in limonite (iron oxide from weathered pyrite) than in quartz on surface mine dumps. That matches what I’ve seen — the red, soft, clay-like material on old dumps is often more productive than the hard quartz chunks everyone gravitates toward.
The types of gold you find at mine sites are different too. You’re not looking for placer flakes washed downstream. You’re looking for lode gold — specimens that came straight from the vein. Pieces that fell off the ore cart, got tossed on the waste pile because the assay wasn’t rich enough, or stuck to equipment and dropped somewhere between the adit and the camp. Gold from mine dumps tends to be rough, jagged, and crystalline — unmistakable once you’ve seen it.
Beyond gold, abandoned mines produce artifacts. At Cerro Gordo — California’s largest historic silver mine — a group of 50 detectorists recovered hundreds of artifacts in a single 48-hour weekend. Finds included an 1850 nickel (pre-dating the town by 15 years), an 1870 seated dime, a miner’s equipment tag, pocket watches, and hand-forged tools. Ghost town hillsides are especially underworked — items that rolled downhill from camp areas were never recovered and rarely get detected.
Choosing a Detector for Abandoned Mine Sites
If you’re new to metal detecting for gold in general, start there for the fundamentals. This section covers what specifically matters when your hunting ground is an abandoned mine.
Your average park-and-beach VLF detector is essentially useless at mine sites. I don’t care if you “know how to use it.” The ground mineralization will eat you alive.
I learned this the hard way. I wasted an entire weekend at a site near Crown King, Arizona, with a borrowed Garrett ACE 300. Every swing was a signal. Every signal was nothing. I dug maybe forty holes and found exactly zero interesting targets because I couldn’t distinguish real signals from ground noise. Drove home with sore arms and the kind of frustration that makes you want to sell everything on Craigslist.
Detectors That Actually Work at Mine Sites
Minelab Gold Monster 1000 — My primary mine-site detector. Dedicated gold machine, 45 kHz frequency tuned for small gold, automatic ground balancing that actually handles hot ground. The auto sensitivity adjustment means I’m not constantly fiddling with knobs when mineralization changes every few feet, which at mine sites it absolutely does.
Fisher Gold Bug 2 — Runs at 71 kHz, which is absurdly sensitive to tiny lode gold. Jeff Williams specifically recommends this for mine site work because the higher frequency detects gold still embedded in rock better than lower-frequency machines. I’ve borrowed one at less mineralized sites and it picked up flour gold my Gold Monster walked past. The trade-off: it’s twitchy in hot ground and requires constant manual balancing. Best for mine dumps with moderate mineralization.
Minelab GPX 5000/6000 — Pulse induction machines that basically ignore ground mineralization. My buddy Steve’s GPX 5000 found three targets at a Wickenburg site that my Gold Monster had walked right over the previous month. Same ground, same grid. PI technology punches through mineral noise that VLF detectors can’t handle. The GPX 6000 is the dream machine at $5,000+, but it’s overkill if you’re just starting out.
The bottom line: You need either a dedicated gold VLF running at 45 kHz or higher, or a PI machine. Anything less and the mine site will beat you before you start.
Accessories That Matter
A sturdy pick is non-negotiable — you’re digging in rocky, compacted tailings, not soft park soil. I carry a Dino pick and a hand rake. A good set of prospecting equipment including a classifier and snuffer bottle helps when recovering fine gold from detector targets. And bring a pinpointer rated for mineralized ground — cheap ones false-signal constantly in mine tailings.
Where to Detect at an Abandoned Mine
Not every part of a mine site is worth your time. I spent two hours once gridding a flat area that turned out to be the old road in — nothing but horseshoe nails and can lids. You have to think like a miner and understand what happened where.
Tailings Piles and Mine Dumps
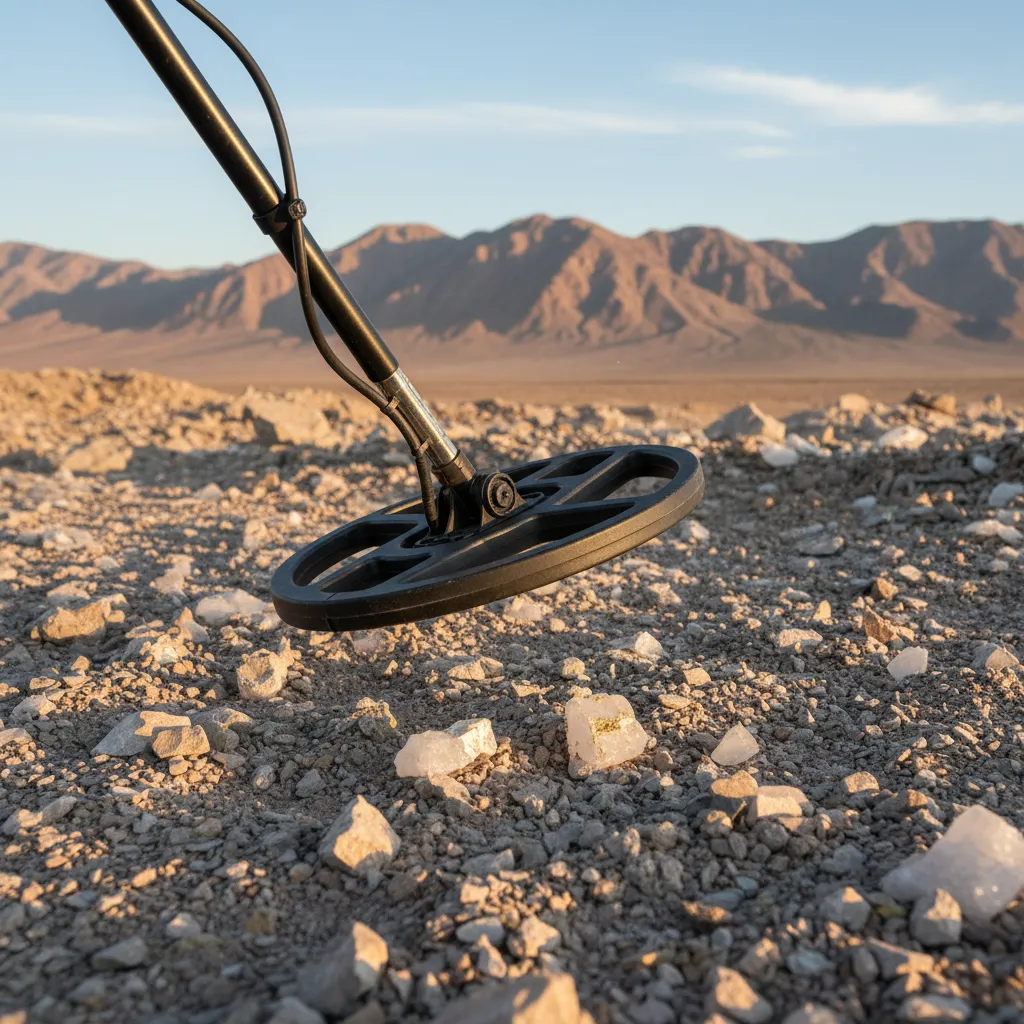
This is my number one target at any abandoned mine. Tailings piles are the leftover material after ore was processed. Old-timers used gravity separation and crude crushing methods with terrible recovery rates. The material that went onto the pile still contains gold.
Work the edges where erosion has concentrated heavier elements. Williams recommends spending 15 minutes dry washing material from a mine dump as a quick assay — in one demonstration, he pulled 5+ visible gold pieces plus micro gold from a single test. The key is targeting the right material:
- Limonite (red/brown iron oxide): The most productive material on most dumps. Soft, clay-like texture, easy to crush. This is weathered pyrite that’s been releasing free gold for a century.
- Avoid sulfide-heavy material: Yellow hue, sulfur smell (rotten eggs), hard shell when wet. Gold is still locked up in the sulfide matrix and your detector won’t see it.
- Quartz with iron staining: Worth checking, but limonite outperforms it in my experience.
One critical note from field experience: iron saturation in tailings causes massive false signals. Gun Adventures documented this well — fine iron particles saturate tailings piles so thoroughly that even moss growing on them trips a detector. Switch to “precious metals only” or “gold mode” to filter iron, and expect to hear a lot of chatter regardless.
Contact Zones and Vein Outcrops
Contact zones — the boundaries between two different rock types — are prime locations. Look for areas where red and black iron staining meets lighter country rock. These geological boundaries are where mineralization concentrates, and they’re often visible on the surface near abandoned workings.
If you find an exposed quartz vein, determine its strike direction (the compass bearing it runs along) and walk it. Veins continue underground beneath alluvial cover, and wherever they’re exposed, they’re worth detecting. Use your pinpointer directly on rocks with visible quartz veins — galena (lead-silver mineral) and gold can be embedded inside.
Camp Areas and Cabin Sites
Flat areas near water with rock foundations or any sign of habitation. The ground around old cabins gives up coins, buckles, tools, and personal items. I found three Indian Head cents fused together in the Mother Lode region — too corroded to read dates, but the style was unmistakable. They were about six inches down in what I think was a cabin floor.
At ghost towns, the hillsides below camp areas are chronically under-detected. Gravity pulls small items downhill over decades. The Cerro Gordo hunt found a pocket watch behind a brothel in an area that had been walked over dozens of times — it was slightly downslope from the building foundation.
Prospect Pits and Small Workings
Don’t overlook small prospect pits. As Jeff Williams puts it: “People don’t dig holes for nothing.” Any historical excavation, no matter how small, signals someone found something worth digging for. A prospect pit that wasn’t profitable at $20/ounce gold might be very interesting at $3,000/ounce.
Look for anomalous rock piles near adit or shaft entrances — miners often hand-stacked high-grade and low-grade ore separately, and some piles never made it to a mill.
Trails Between Workings
Miners walked the same routes daily hauling ore and supplies. Anything in a pocket or on a belt could fall along these paths. Ore cart tracks and loading areas are prime for spillage. These connecting trails are easy to overlook but consistently produce finds.
Mastering Ground Balance at Mine Sites
This is where most people fail at abandoned mines and walk away thinking there’s nothing to find.
Mineralized ground at mine sites produces a constant signal. If your detector can’t filter it out, every square inch sounds like a target. You dig a hundred holes, find nothing but red dirt, and go home frustrated. This isn’t the mine site’s fault. It’s a skills and equipment problem.
Even on machines with auto-balance, I manually check every time I move to a new area. Mineralization changes constantly — one spot is mellow, ten feet away it’s screaming. Here’s my process:
- Start in all-metal mode to assess ground noise levels across the site
- Manually ground balance in each distinct area (mineralization shifts every 10-20 feet at many mine sites)
- Slow your swing to half your normal speed — fast swings in mineralized ground generate false signals
- Learn the audio tones rather than trusting discrimination circuits, which get confused in hot ground
- Dig everything that gives you a repeatable signal from multiple swing angles — the trash-to-treasure ratio at mine sites is brutal (I’ve dug a hundred nails for every interesting find), but you can’t tell the difference from the signal alone
Hunt after rain when you can. Wet ground calms mineralization significantly. Some of my best mine-site sessions have been the morning after a desert rain, when the ground is damp and the hot rocks quiet down.
Safety at Abandoned Mine Sites
This section isn’t optional reading. Abandoned mines have killed people, and not just the ones who went underground.
Never Enter Mine Openings
I don’t care how stable the adit looks, how many YouTube videos show people walking into tunnels, or how certain you are that there’s gold inside. Stay on the surface. Underground hazards at abandoned mines include:
- Structural collapse: Timbers rot over decades. Support structures fail without warning. Stopes (underground chambers) can have false floors — what looks like solid ground is actually a thin crust over a vertical shaft.
- Toxic gases: Carbon dioxide, methane, and hydrogen sulfide accumulate in unventilated workings. You can’t see or smell most of them until you’re unconscious. CO2 is heavier than air and pools in low areas — a perfectly breathable tunnel entrance can have lethal gas concentrations ten feet inside.
- Bad air: Even without toxic gases, oxygen depletion in sealed or poorly ventilated mines can cause disorientation and unconsciousness before you realize anything is wrong.
There is nothing inside an abandoned mine that justifies the risk. Everything a metal detector can find is on the surface — tailings, dumps, camp areas, and outcrops.
Surface Hazards
- Unmarked shafts: Vertical shafts can be hidden by brush, debris, or thin soil crusts. Watch where you step, especially near any depression or area with rusted fencing/barriers.
- Unstable tailings: Mine waste piles can be loose and steep. I’ve slipped on tailings and slid 15 feet before catching myself on a rock. Wear boots with ankle support, not sneakers.
- Toxic materials: Mercury from amalgamation processes, arsite from processing, and lead from smelting operations can contaminate soil at mine sites. Don’t eat lunch on a tailings pile. Wash your hands before eating or drinking. If you’re doing extended detecting on tailings, gloves aren’t a bad idea.
- Wildlife: In the western US, rattlesnakes shelter in mine debris, prospect pits, and rock piles. I’ve encountered them twice at Arizona mine sites. Watch where you put your hands and feet.
Field Protocol
- Tell someone where you’ll be and when you expect to return. Cell service is nonexistent at most mine sites.
- Bring more water than you think you need. Mine sites are often in remote, exposed terrain. I carry a minimum of 3 liters for a half-day session.
- Carry a first aid kit. You’re working with sharp rocks, rusty metal, and digging tools far from help.
- Never detect alone at remote sites if you can avoid it. At minimum, carry a satellite communicator (I use a Garmin inReach Mini).
Finding Old Mines to Detect
Research is half the work. Showing up at a random old mine and swinging isn’t a strategy — you want sites where gold was actually produced, where tailings exist, and where access is legal.
Research Tools
I use the GoldFever.app mine map to plan detecting trips. It plots mine locations from USGS MRDS records, so I zoom into a region and look for clusters. Clusters mean mining districts — camps, trails, and infrastructure connecting multiple workings. That density of activity is what produces finds.
USGS MRDS reports tell you what minerals were produced at each site. Target mines that list gold in limonite specifically — that’s the material that weathers into free gold on the surface. The reports also note whether a site had a mill, which means tailings piles exist.
Cross-referencing with where gold is found across the US and gold mine data by state gives you the big picture on productive regions and specific mine counts. Key states for mine-site detecting include:
- Arizona: The Bradshaw Mountains, Wickenburg, and the Prescott National Forest area have hundreds of accessible abandoned mines. Dry climate preserves artifacts well.
- Colorado: The Clear Creek, Gilpin County, and San Juan districts have dense mine concentrations. My Henry cartridge find came from the Colorado gold country.
- California: The Mother Lode belt from Mariposa to Nevada City is loaded with mine sites. California still has gold, and the old hardrock mines are underworked by detectorists.
- North Carolina: America’s first gold rush state. The Gold Hill district has mine dumps that rarely see a detector — less mineralization than western sites and less competition.
- Georgia: The Dahlonega gold belt produced the first US gold rush. Old mine tailings in Lumpkin County are underexplored.
Botanical and Visual Indicators
When you’re on the ground, look for these signs that a site is worth detecting:
- Iron-stained soil: Red and brown discoloration indicates iron oxides (limonite) — a strong gold indicator
- Anomalous rock piles: Hand-stacked rock near a portal means someone sorted ore there
- Trumpet plants and other metallophytes: These thrive in heavily mineralized soil and can indicate ore deposits
- Flat areas with rock alignments: Old foundations, camp areas, cleared spaces for equipment
Don’t rely on Google Earth alone. As Williams emphasizes, “boots on the ground” is essential — many veins and deposits are invisible from aerial imagery or from a vehicle. Walk the area, look at the rocks, check the soil color.
Legal Access for Metal Detecting Old Mines
Even if an old mine looks abandoned, it might still be claimed. Detecting on someone’s active mining claim without permission is both illegal and a good way to ruin your afternoon.
- BLM and National Forest land: Casual prospecting including metal detecting is generally allowed without a permit. Hand tools only, minimal surface disturbance. Check the GoldFever app for active claims in your area before heading out.
- State land: Rules vary dramatically. Check state-by-state prospecting laws before you go.
- State parks and historic sites: Don’t detect without explicit written permission. Many abandoned mines with historic significance are protected.
- Private land: Get written permission from the landowner. Period.
- National parks and monuments: Detecting is prohibited. No exceptions.
Fill every hole you dig, every time. The detecting community’s access to public land depends on people leaving sites clean. Pack out all trash you dig — don’t rebury it.
Real Finds from Abandoned Mine Sites
The quartz specimen — Bradshaw Mountains, Arizona. My first mine-site gold find. About a gram and a half of dark honey-colored gold still attached to quartz, pulled from a tailings pile after an hour of digging rusty nails. The piece that changed my whole approach to mine-site detecting.
Henry rimfire cartridge — Clear Creek area, Colorado, September 2024. Found near a camp area about 200 yards from a collapsed adit. A .22 caliber rimfire headstamped “H” for Henry — probably 1860s-1870s era. Almost tossed it because it just looked like a corroded brass tube. Threw it in my finds pouch and researched the headstamp at home that night. This is why you research everything and throw away nothing in the field.
Three fused Indian Head cents — Mother Lode region, California. Found about six inches down in what I think was a cabin floor. Too corroded to read dates, but the Indian Head style was unmistakable. A century of freeze-thaw cycles pushes things deeper than you’d expect.
A lot of square nails. An embarrassing number of square nails. But here’s the thing — a cluster of square nails means a structure was there. They’re not the prize, they’re the map. Mark the cluster, expand your grid, work the area hard.
And I still get skunked sometimes. Last month I spent five hours at a site that looked absolutely perfect on paper — multiple workings, visible tailings, flat camp areas — and came home with nothing but iron and a sunburn. That happens. But then the next trip you pull a gold specimen out of a pile of rocks that ten thousand people walked over, and the blank days stop mattering.
Quick-Start Checklist for Your First Mine Site Hunt
If you’re heading to an abandoned mine for the first time, here’s the condensed version:
- Research the site — Use USGS MRDS data and the GoldFever app to confirm gold production and check for active claims
- Bring the right detector — Dedicated gold VLF (45+ kHz) or PI machine. Leave the park detector at home.
- Start on the tailings — Work the edges where erosion concentrates heavy material. Target red/brown limonite material over hard quartz.
- Ground balance obsessively — Re-balance every time you move to a new area. Slow your swing speed by half.
- Stay on the surface — Never enter mine openings. Everything worth finding is above ground.
- Dig everything repeatable — The trash-to-treasure ratio is 100:1. Accept it.
- Bring water, tell someone, fill your holes — Non-negotiable.
Extra batteries. Bring them. I’ve killed a hunt because my detector died and my spares were sitting on my kitchen counter. Twice.