Published
- 18 min read
Gold Mining Techniques: Every Method from Pan to Pit Mine

Every gold mining technique exploits the same basic fact: gold is absurdly heavy. At 19.3 grams per cubic centimeter, it’s denser than lead, denser than mercury, denser than nearly everything else you’ll encounter in a streambed or rock face. Every method on this list — from a $10 pan to a $400 million open pit — uses that density to separate gold from everything around it.
The difference between methods is scale, cost, and what kind of deposit you’re working. A recreational prospector standing knee-deep in a Colorado creek is doing the same physics as a commercial mining operation processing 50,000 tons of ore per day. They’re just doing it very differently.
I’ve personally used five of the methods on this list, watched two others in operation, and researched the rest extensively while building the GoldFever.app mine database from USGS records. This guide covers all of them — what they are, what they cost, when to use each one, and what I’ve learned the hard way about progressing from one to the next.
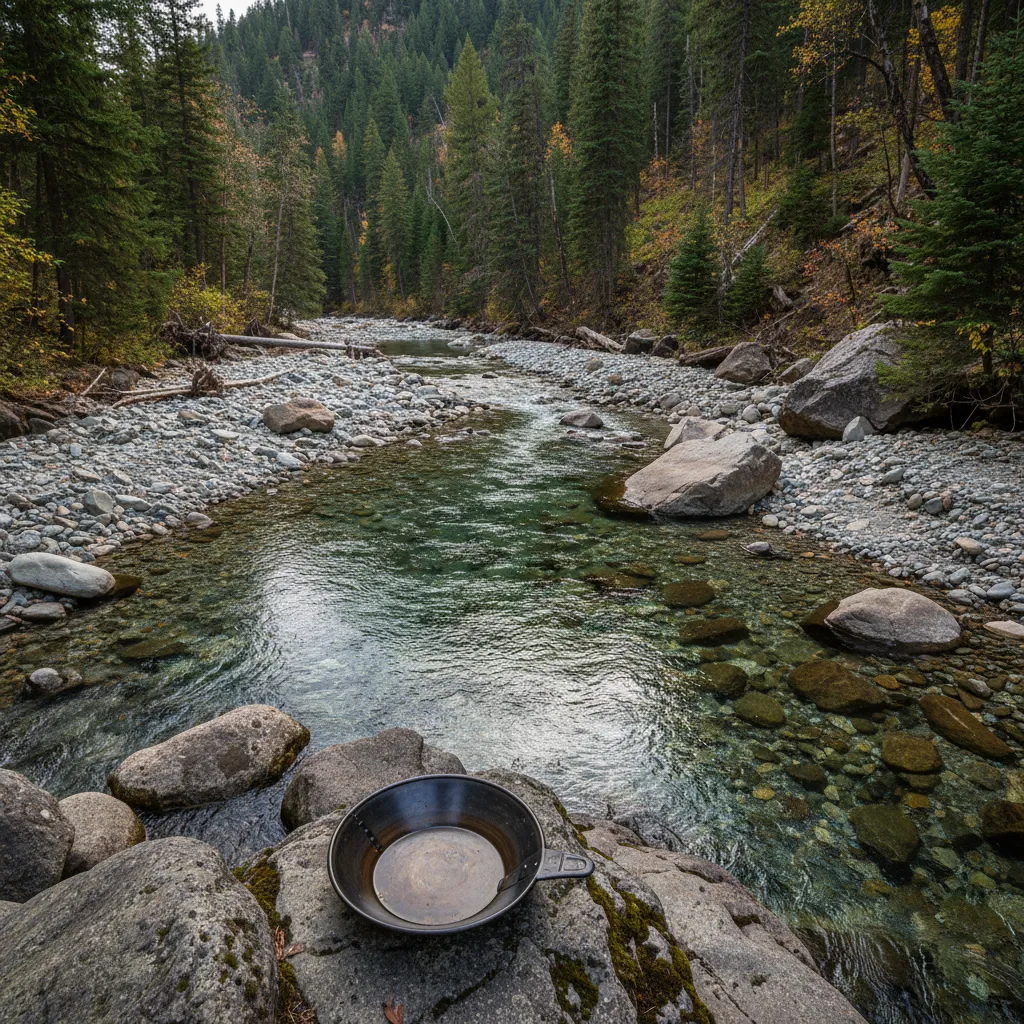
Table of Contents
- Placer Mining Methods
- Gold Panning
- Sluice Box Mining
- Highbanking
- Gold Dredging
- Drywashing
- Metal Detecting for Gold
- Hard Rock (Lode) Mining
- Commercial Mining Operations
- Which Method Should You Start With?
- Legal Considerations by Method
Placer Mining Methods
Placer gold is loose gold that’s been freed from its source rock and deposited in streams, rivers, and ancient waterways by water and gravity. Every placer mining method works the same core principle: you run gold-bearing material over some kind of gravity trap that catches the heavy gold and lets the lighter sand and gravel wash away.
The methods below are listed in order of progression. Most recreational prospectors start with a pan and work up from there as they get hooked.
Gold Panning
Cost: $10-35 | Skill floor: Low | Gold recovery: Small flakes, occasional pickers
Gold panning is where almost everybody starts, and there’s a reason for that: it’s cheap, portable, legal almost everywhere, and teaches you the fundamentals of gravity separation that every other method builds on.
I’ve written a full step-by-step panning guide covering technique in detail, but the core process is straightforward. You fill a ridged pan with streambed material, submerge it, shake to stratify (gold sinks to the bottom), and carefully wash lighter material out over the riffles. What’s left is black sand, iron stone, and — if you picked the right spot — gold.
The part most beginners get wrong isn’t the swirling. It’s the stratification step. Experienced panners I’ve watched spend more time shaking their pan side-to-side than they do washing material out. That shaking is what forces gold to the bottom. Skip it or rush it and you’ll wash gold right out of the pan without ever seeing it. I did exactly that for my first three trips before a retired prospector on Clear Creek showed me what I was doing wrong.
A pan is also your primary sampling tool even after you’ve graduated to other methods. Before I set up a sluice box anywhere, I run five or six quick pans from different spots to figure out where the gold actually is. Ten minutes of test panning saves hours of running your sluice in dead ground.
Best for: Learning, sampling new locations, casual weekend prospecting, spots with difficult access where you can’t haul heavier gear.
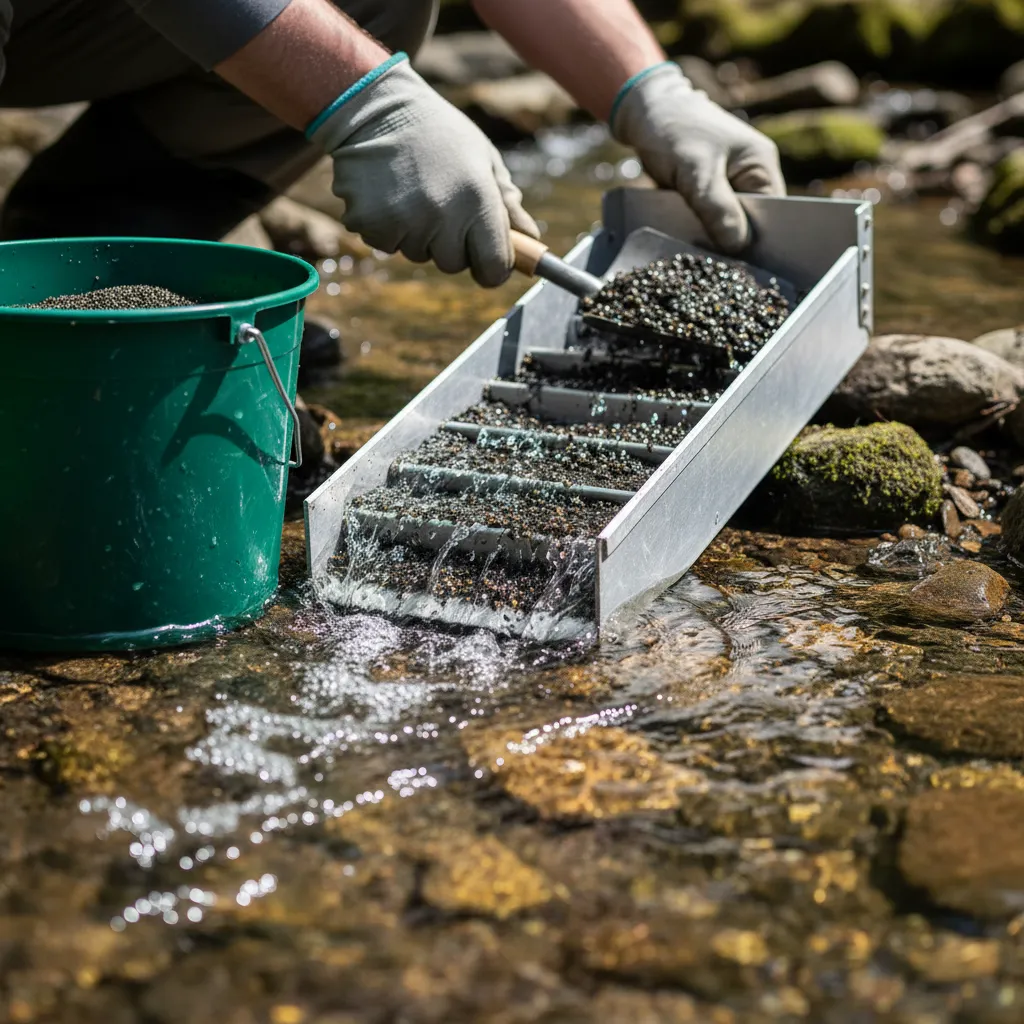
Sluice Box Mining
Cost: $50-300 | Skill floor: Medium | Gold recovery: 10-50x more than panning per hour
A sluice box is basically a long, narrow channel with riffles on the bottom that you place in flowing water. You shovel classified material into the top, the current carries lighter stuff out the end, and gold drops behind the riffles. It’s a gold pan that runs continuously without your hands.
The jump from panning to sluicing was the biggest single improvement in my prospecting output. My first sluice run on Clear Creek in September — a cheap 24-inch Keene A51 I bought used on Facebook Marketplace for $40 — I processed more material in two hours than I’d panned in entire weekends. The gold that showed up in my cleanup was genuinely shocking. Not because the creek suddenly got richer, but because I’d been leaving most of it behind when I was panning a few cups at a time.
Setup matters. The sluice needs to sit at the right angle in the current — about a 1-inch drop per foot of sluice length is the general rule, but I’ve found you need to adjust based on flow. Too steep and fine gold washes over the riffles. Too flat and material builds up and nothing moves. I spent my first three sluicing sessions with the box angled too aggressively because I was impatient and wanted material to process fast. Lost a lot of fine gold before I figured that out.
The classified-material rule: Always run your material through a classifier screen before it hits the sluice. Half-inch mesh minimum, quarter-inch if you have the patience. Unclassified material jams the riffles, creates dead spots where gold can’t settle, and drops your recovery rate dramatically. My equipment guide covers classifier stacks in detail.
Best for: Productive prospecting on rivers and creeks, processing volume while staying portable, the natural next step after panning.
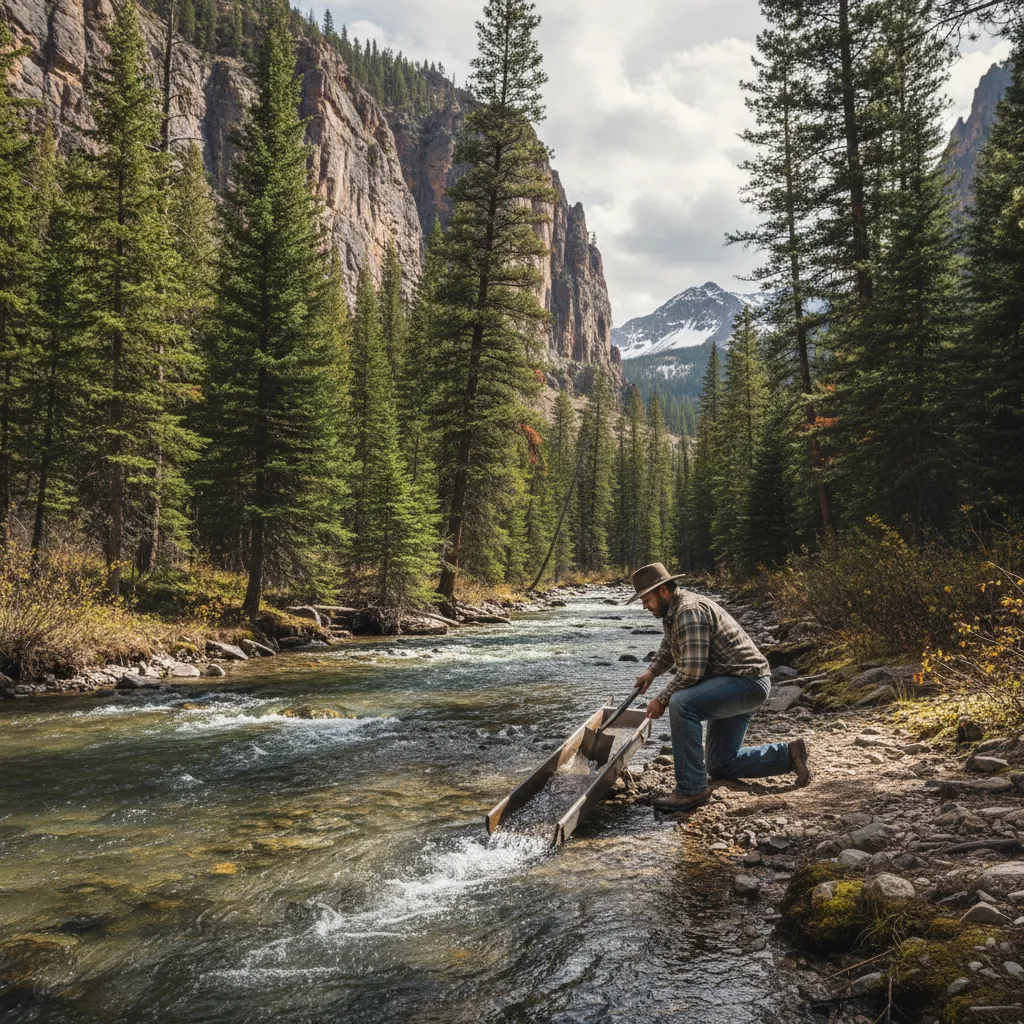
Highbanking
Cost: $300-1,500 | Skill floor: Medium | Gold recovery: Significant step up from hand sluicing
A highbanker is a sluice box with its own water pump. Instead of placing it in the creek and relying on natural current, you set it up on the bank (hence the name) and pump water from the stream to run through it. This solves the biggest limitation of a regular sluice: you’re no longer restricted to spots where the current is the right speed and depth.
I borrowed my buddy Steve’s Keene highbanker for a weekend on the South Platte in Colorado last fall. The difference was immediately obvious. We set up above the waterline on a gravel bar, ran a hose down to the river, and could dig material from a much wider area than a stream-placed sluice would allow. The pump keeps the water flow consistent, which means more predictable recovery. No more fussing with angles because the current shifted.
The downside is noise, weight, and gas. A highbanker with a pump weighs 30-50 pounds and the motor is loud enough that I felt self-conscious about it on a quiet stretch of river. You’re also burning gas, which means you’re planning trips differently — it’s not grab-a-pan-and-go anymore.
Best for: Serious recreational prospectors, working gravel bars and bench deposits above the waterline, areas where creek placement isn’t practical.
Gold Dredging
Cost: $1,000-10,000+ | Skill floor: High | Gold recovery: Highest of any portable method
Gold dredging is underwater vacuuming for gold. A suction dredge uses a motor-driven pump to suck streambed material through a hose and run it over a sluice box mounted on a float. You’re in the water — usually in a wetsuit — moving boulders, working crevices, and feeding material into the nozzle while the dredge does the separating.
Dredging accesses gold that no other portable method can reach. The richest placer deposits sit on bedrock — the solid rock floor beneath the gravel in a stream. Gold works its way down through sediment over thousands of years until it hits bedrock and gets trapped. A pan or sluice works the top few inches. A dredge lets you go down to bedrock itself, cleaning out crevices where gold has been accumulating since before humans existed on this continent.
I’ve watched dredge operators on the Rogue River in Oregon pull out material that would have taken months to process by hand. The volume difference is staggering.
The catch: Dredging is the most legally restricted gold mining method in the United States. California banned suction dredging entirely in 2009 and the ban is still active. Oregon requires permits with strict seasonal windows. Many states have partial restrictions tied to fish spawning seasons. Before you invest in a dredge, check your state’s specific regulations — a $3,000 dredge collecting dust in your garage because you can’t legally run it is an expensive mistake.
Best for: Experienced prospectors on active mining claims, states where dredging is permitted, accessing bedrock deposits in rivers.
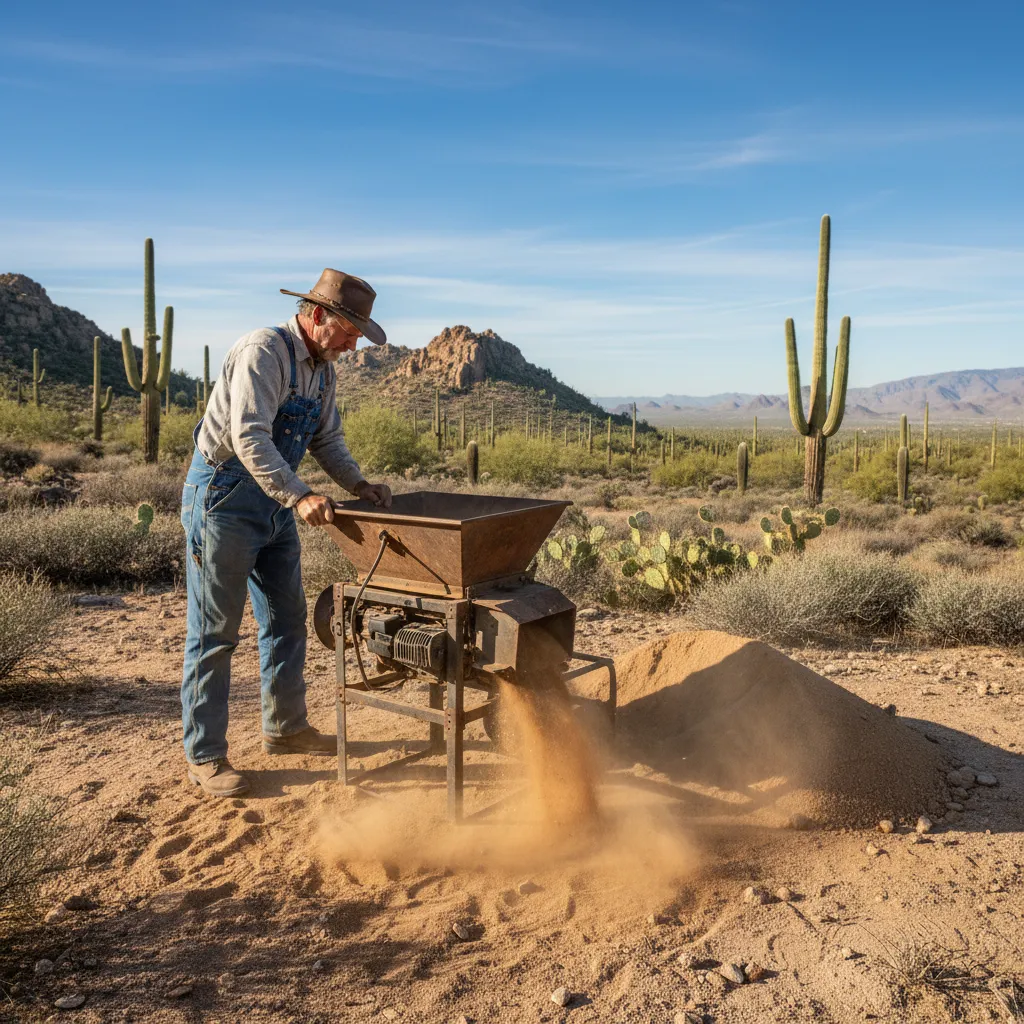
Drywashing
Cost: $200-2,000 | Skill floor: Medium | Gold recovery: Comparable to sluicing for desert deposits
Drywashing is the arid-climate answer to sluice box mining. Instead of water, a drywasher uses air and vibration to separate gold from dry material. You shovel classified dirt into a hopper, a bellows or blower pushes air up through a riffle tray, and the vibration plus air flow carries away lighter particles while gold drops behind the riffles.
This is the only viable gravity method for desert prospecting where there’s no water within miles. Arizona, Nevada, the Mojave — these places have gold, but you’re not hauling creek water to process it. A drywasher lets you work the same types of deposits that creek miners work, just in places where rainfall is measured in single digits.
I ran a hand-crank drywasher at a site south of Wickenburg, Arizona on a 95-degree day in May. The material needs to be bone dry for it to work — any moisture and the fines clump instead of separating. Morning dew was enough to gum up the first batch. By 10 AM the desert had baked everything dry and it ran fine. Recovery isn’t quite as clean as water-based methods because the density separation isn’t as precise with air, but for desert gold it’s your only real option besides panning with hauled water.
Best for: Desert prospecting (Arizona, Nevada, eastern California, New Mexico), dry placer deposits, areas with no water access.
Metal Detecting for Gold
Cost: $500-6,000+ | Skill floor: Medium-High | Gold recovery: Nuggets and specimens (not fine gold)
Metal detecting for gold is a completely different discipline from placer mining. You’re not processing material through water or air — you’re scanning the ground with an electromagnetic coil looking for individual pieces of gold large enough to trigger a signal. That means nuggets, specimen pieces, and lode gold chunks, not the flour-fine flakes that a pan recovers.
I covered my detecting setup and field experience in detail in my metal detecting at old mines guide, but the key thing to understand is that not every metal detector finds gold. The cheap detectors people use for coins at the beach operate at frequencies too low to sense small gold. You need a dedicated gold detector running at 45 kHz or higher (like the Minelab Gold Monster 1000 I use) or a pulse induction machine that ignores ground mineralization entirely.
Where you detect matters as much as what you detect with. The best gold detecting spots aren’t pristine creeks — they’re old mine sites where a century of ore processing scattered gold-bearing material across tailings piles, access roads, and camp areas. Early miners used extraction methods that recovered maybe 60-70% of available gold. The rest is still sitting in their waste piles.
The advantage of detecting over placer methods: a single good nugget can be worth more than a season of panning fine gold. A quarter-ounce nugget at $2,000+/ounce gold prices is worth over $500 as raw gold, and potentially much more as a specimen piece to a collector.
Best for: Nugget-bearing regions (Arizona, Nevada, Western Australia), old mine sites and tailings, desert areas where placer methods aren’t practical, prospectors who enjoy the hunt over volume processing.
Hard Rock (Lode) Mining
Cost: $5,000-500,000+ | Skill floor: Very high | Gold recovery: Potentially enormous, highly variable
Hard rock mining goes after gold where it originates: locked inside quartz veins and sulfide ore bodies in solid rock. This is fundamentally different from every placer method above. Instead of collecting gold that nature has already freed and concentrated, you’re extracting it from the rock yourself.
The process, in simplified terms: identify a gold-bearing vein, drill or blast the rock to break it up, crush the ore to fine particles, then use chemical or gravity methods to extract the gold. Historic hard rock miners did this with hand drills, black powder, and stamp mills. Modern operations use diesel-powered drill jumbos, ANFO explosives, and ball mills.
At the recreational level, hard rock mining usually means finding an old mine site with exposed quartz veins, collecting surface specimens, and crushing them with a mortar and pestle or small jaw crusher to free the gold inside. I’ve done this at a couple of claims in the Bradshaw Mountains — it’s painstaking work. You can spend an hour crushing a fist-sized piece of quartz to find a speck of gold. Or you crack open the right rock and there’s a wire of gold running through it that makes the whole trip.
The gold content of hard rock ore is measured in ounces per ton. A deposit with half an ounce per ton is considered viable for a small operation. Major commercial mines operate on ore grading 0.1 to 0.5 ounces per ton — numbers that only work because they’re moving thousands of tons daily. Modern ore often contains gold particles so small they’re invisible to the naked eye, requiring chemical extraction through cyanide leaching or flotation circuits.
Best for: Mining claim owners with exposed veins, serious hobbyists with crushing equipment, anyone who wants to understand where placer gold actually comes from.
Commercial Mining Operations
Cost: Millions to billions | Skill floor: Professional | Gold recovery: Industrial scale
Commercial gold mining is an entirely different world from recreational prospecting, but understanding it helps you read the landscape when you’re out in the field.
Open pit mining is the most common method for large, low-grade deposits near the surface. Geoscientists map the ore body using drilling and 3D modeling, then mining proceeds in benches — horizontal layers blasted, loaded, and hauled out by trucks carrying 240 tons per load. At Nevada Gold Mines’ operations, haul trucks carry roughly 480,000 pounds of rock in a single trip. The ore goes to processing facilities where it’s crushed and treated with a weak cyanide solution that dissolves the gold. The gold is then recovered onto activated carbon, stripped, and refined into doré bars — roughly 85% gold and 15% silver — before being shipped to a refinery for final purification at 2,100°F.
Heap leaching handles low-grade ore that isn’t worth the cost of milling. Ore is piled on a lined pad and sprinkled with cyanide solution that percolates down through the heap, dissolving gold as it goes. The solution is collected at the bottom and processed. It’s slow — a heap might leach for months — but it’s economical for ore that would lose money in a mill.
Underground mining follows veins or ore bodies too deep for open pits. Modern underground mines use ramp access, mechanized drilling, and paste backfill to extract ore while maintaining structural integrity.
When you’re looking at old mine sites on public land, you’re usually seeing the remnants of small-scale hard rock operations that used stamp mills, arrastra grinding, and mercury amalgamation. The tailings they left behind are worth investigating with a detector because their recovery technology was primitive by modern standards.
Which Method Should You Start With?
Here’s the honest progression I recommend based on doing this for several years:
Start with panning. Always. Even if you plan to buy a dredge eventually. Panning teaches you how gold behaves — where it settles in a stream, what it looks like mixed with black sand, how to read a creek for productive spots. That knowledge transfers to every other method. The beginner panning guide will get you started, and a basic equipment setup costs under $35.
Second step: sluice box. Once you’ve found gold in a pan and you know where to dig, a sluice lets you process ten times the material. This is where prospecting shifts from “fun hobby I do sometimes” to “I’m actually accumulating gold.”
Third step: branch based on your environment.
- River prospecting → highbanker or dredge (where legal)
- Desert prospecting → drywasher
- Old mine sites → metal detector
- Hard rock claims → crushing equipment
| Method | Startup Cost | Portability | Best Environment | Legal Complexity |
|---|---|---|---|---|
| Gold panning | $10-35 | Fits in a backpack | Any creek | Very low |
| Sluice box | $50-300 | Carry to stream | Flowing water | Low |
| Highbanking | $300-1,500 | Vehicle access needed | Near water source | Medium |
| Dredging | $1,000-10,000 | Truck + trailer | Rivers with depth | High |
| Drywashing | $200-2,000 | Vehicle access needed | Arid regions | Low-Medium |
| Metal detecting | $500-6,000 | Carry anywhere | Old mines, desert | Low |
| Hard rock | $5,000+ | Fixed location | Mining claims | High |
Legal Considerations by Method
This is the part that nobody finds exciting but everyone needs to know. Gold mining regulations vary dramatically by method, and the more mechanized your technique, the more rules apply.
Panning is legal on most public lands managed by the BLM and Forest Service without any permit. It’s considered casual use. You still need to verify you’re not on an active mining claim or in a restricted area, but the barrier is low. Check my state-by-state gold panning laws breakdown for specifics.
Sluice boxes fall into a gray area in some states. Most BLM and Forest Service land allows them as casual use, but some states require a permit. California needs a permit from the Department of Fish and Wildlife. Always check before you set up.
Dredging is the most restricted method. California’s suction dredge moratorium has been in effect since 2009. Oregon requires permits with seasonal restrictions tied to salmon runs. Idaho, Montana, and Alaska allow dredging with various permit requirements. Several other states have size limits on dredges. This is the one area where you absolutely must research your state’s rules before spending money on equipment.
Metal detecting is generally permitted on BLM land and national forests. National parks are off-limits. State parks vary. Detecting on active mining claims without permission is trespassing.
Hard rock mining and commercial operations require formal mining claims filed with the BLM and county, along with environmental impact assessments, bonding, and state-specific permits.
The GoldFever.app map shows public land boundaries alongside mine locations, which helps you identify spots where recreational gold prospecting is likely permitted. But always verify with the local BLM or Forest Service office. Regulations change, and a $200 fine for an expired rule you didn’t know about takes the fun out of a weekend pretty fast.
Choosing the Right Method for Your Gold Deposit
Not every technique works everywhere. Match your method to the geology:
River and stream deposits: Start with panning to sample, then sluice or highbank for production. If the gold is fine (flour to small flake), gravity methods are your best bet. If the creek has nugget-sized gold and you’re in a nugget-bearing region, add a detector to your kit.
Desert placers: Drywashing is your primary tool. Bring water for test panning if you can, but plan your production around dry processing. Arizona and Nevada’s best gold is often miles from the nearest water source.
Old mine tailings: Metal detecting is the most efficient approach. The gold in tailings is already freed from rock — it was just missed by old-time processing. A good detector covers more ground faster than re-running tailings through a sluice.
Bench deposits and old channels: These are ancient river gravels sitting above the current waterline, sometimes hundreds of feet up a hillside. Highbanking or drywashing, depending on water access. These deposits produced enormous amounts of gold during the California Gold Rush and many are still productive.
Hard rock veins: If you can see gold in quartz on a claim, crushing and gravity separation at small scale. For anything larger, you’re into permitting, environmental assessment, and serious capital investment.
The Real Progression
Here’s what I’ve learned that nobody told me when I started: the techniques themselves are the easy part. Reading the ground — understanding where gold collects in a river, recognizing productive geology, knowing which gravel bars to work and which to skip — that’s what separates people who find gold consistently from people who have expensive equipment and empty vials.
Spend your first season with a pan and a sluice. Learn to read water. Learn what placer deposits look like in the real world versus in a textbook. Find gold — even small flakes — and understand why it was in that specific spot. Then upgrade your equipment based on the terrain you’re actually prospecting, not based on what looks cool on YouTube.
The gold isn’t going anywhere. It’s been sitting in those streams for thousands of years. Take the time to learn each method properly, and every upgrade in equipment will multiply what you’re already doing right instead of just making your mistakes faster and more expensive.